


Back to basics with Kombucha

A friend in Switzerland recently sent me a scoby and I’m back on the kombucha wagon after a two-year hiatus. I’ve forgotten most of the basics for keeping a scoby and producing a steady flow of kombucha, so I thought I’d write a brief-ish article to jog my memory and perhaps encourage readers to give homemade kombucha a go. There is SO much to say about the fermentation process, so this merely scratches the surface.
What’s a scoby and how does it make kombucha? A ‘scoby' or 'symbiotic culture of bacteria and yeast' is a jelly-like culture which facilitates the fermentation process whereby a sugary tea brew is converted into kombucha.
Kombucha is a beverage believed to be rich in probiotic bacteria that can also be flavoured. It has been consumed since around 200 B.C. when this drink was first produced in China, during a time when fermentation processes and tea were popular. Kombucha is now consumed all over the world.
I have found that kombucha splits the room. Some people swear by it and its health benefits and others cannot move past the idea of something produced by that thing, the scoby.
You can grow a scoby but it takes a lot of time, specific bacteria and environments. You’re better off asking around and finding a friend-of-a-friend who makes kombucha, as they’re likely to have a scoby they can donate to you. A scoby will grow over time and produce extra layers. These are removed and can be used separately or given away. If you don’t know anyone, you can buy a scoby online. It will survive the trip through the postal system, but you should get it into a solution of fresh tea as soon as you can when it arrives.
Your scoby should come with some liquid which should also be added to your first batch of brew. This liquid is very important as it contains not only a large quantity of bacteria and yeast but also a lot of acid which helps create the right environment for the next batch.
The best combination to use for your brew is black tea with organic cane sugar. You can also use green, white or oolong tea (or a combination of them all). For my brew, I used loose green tea and non-organic sugar which works just as well.
Primary and secondary fermentation
When you delve into the world of kombucha, you’ll hear the phrases ‘primary or first fermentation’ and ‘secondary fermentation’ a lot. The primary fermentation is the process of fermenting and producing the kombucha. The second fermentation is an opportunity to carbonate and flavour the kombucha. Flavouring should only take place in the second fermentation. Never attempt to tinker with the primary fermentation! Some people prefer to drink the kombucha at the end of the primary fermentation, which is fine and down to your preference.
For 1 litre of kombucha
1 litre of dechlorinated/freshly boiled water
50-100g sugar (80g - 85g seems to be a good amount suggested by more experienced producers)
1 teabag or 1 tablespoon of black, green, white or oolong tea
Scoby + 100ml of starter liquid
Primary fermentation
Boil 1 litre of water and add to a jug with the teabag/loose tea and sugar. Stir until the sugar has dissolved. Allow to cool to room temperature. Anything above 35°C will harm the scoby so ensure that your tea brew is cool before adding it.
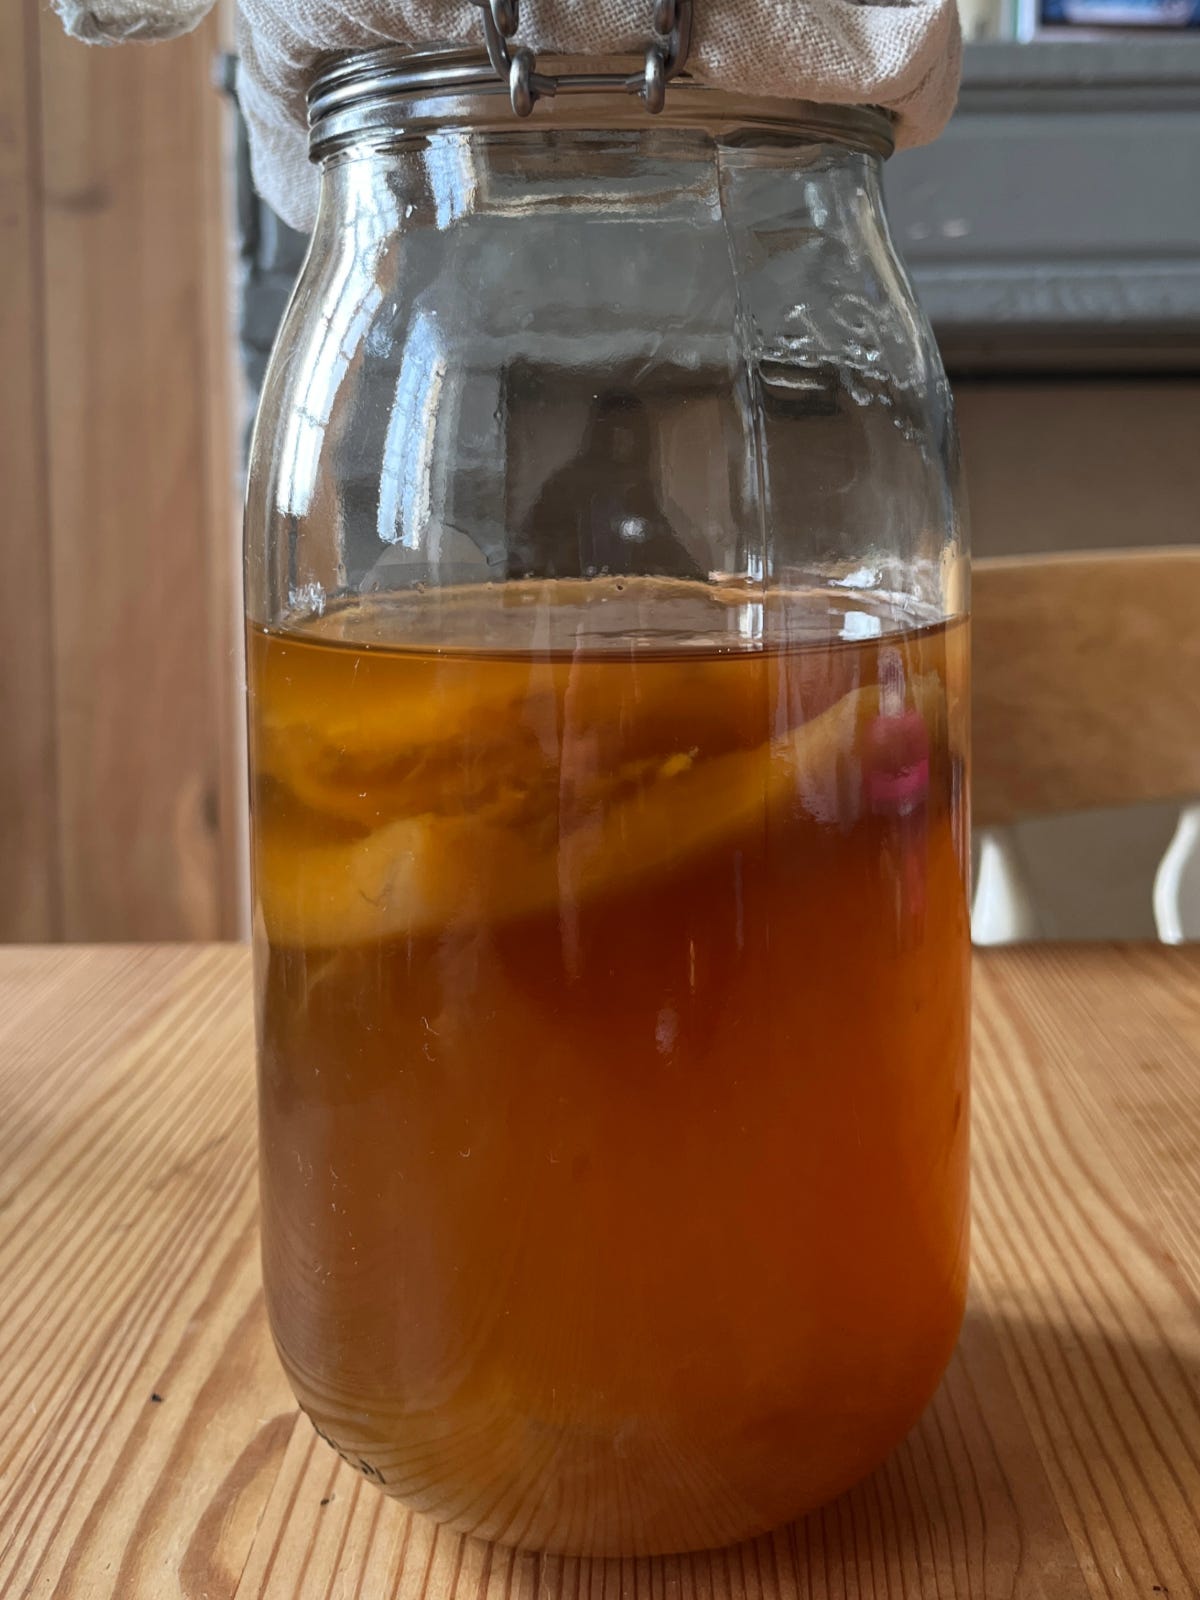
Strain the tea bags or loose tea leaves and pour the contents into the jar. As I use loose tea leaves, I filter the liquid through a muslin cloth to ensure I’m removing any remaining bits. Now add the brew to your jar along with your scoby and the liquid (approximately 100ml but a little extra won’t cause any issues). Leave at least an inch of space at the top of your jar.
Cover the top of the jar with a muslin cloth or paper towel, secured with an elastic band. This will allow for sufficient airflow but will prevent dust or fruit flies from getting into the jar.
Place the jar somewhere in your home where the temperature doesn’t fluctuate too much and not in direct sunlight. It doesn’t need to be in complete darkness. I’d recommend you label the jar with the production date. It's easy to forget where you’re at in the process, especially if you have a few on the go, so this will make life easier.
To be honest, there’s no exact point when the kombucha is ‘ready’. Kombucha will ferment faster in warmer conditions and will slow down at anything under 18°C. It’s down to your preference and taste and in time, you’ll begin to understand where the sweet spot is for you. Kombucha starts as a sweet liquid and as it ferments, it becomes more acidic. You should start to sample the kombucha from around 6 days and then each day to see how the flavour develops. If it tastes too sweet, leave it for longer. If you like a tart taste, you might leave it for 9-12 days. Whatever your preference, taste it day by day. For me, I find the taste about right between 8-10 days.
If you’re ending the process here and you prefer to enjoy the kombucha as it is, that’s fine! Decant the kombucha into a sterile bottle and store it in the fridge. Make sure to leave behind the scoby and approximately 100-150ml of the liquid in the jar. You can now start the brew process again with the same scoby in the same jar and enjoy this fresh batch of Kombucha in the meantime.
Secondary fermentation
As above, decant the kombucha into a bottle (ideally flip-lid) and ensure you leave behind the scoby and approximately 100-150ml of the liquid in the jar.
During the second fermentation, yeasts will feed on the sugars you add to your kombucha. The yeast will consume the sugars and release carbon dioxide as a byproduct. This is why a flip-lid bottle is recommended for this stage as gasses can build up.
There are tons of flavour recommendations and suggested pairings online. Fruit-based recipes are more common as they contain more sugars but vegetable or herb-based recipes are possible too, provided that you compensate with another form of sugar. For my first batch, I went for some sliced fresh ginger, a glug of pure orange juice and a drizzle of honey. Within three days it was very carbonated and very refreshing!

Over the coming months, I want to experiment more with foraged flavour combinations.
Notes
I was taught that you should never use metal utensils to stir or scoop your scoby but I recently saw a post online from a food microbiologist (Kaitlynn Fenley) who claims this is false and metallic objects don’t cause any harm.
Typically, your disc-like scoby should float at the top of your brew but sometimes it can sink or appear lop-sided for some time. This is normal and depends on where you are in the process and the environment the jar is in. It could be a very cold room, for example. As the scoby consumes the sugars in the brew, its behaviour will change.
Coffee filters work really well if you don’t have a piece of muslin.
Thanks for reading Comté Dinner. My content is public and free, so please share it with anyone you think may enjoy it!
Click the like button to let me know that you found the content interesting, leave me a comment or use the new DM feature on Substack to get in touch with me.
This is the Substack I've been looking for! Looking forward to catching up on your posts! 😊